

 Set up docs MCP
Apache NiFi is an open-source workflow management software designed to automate data flow between software systems. It allows the creation of ETL data pipelines and is shipped with more than 300 data processors. This step-by-step tutorial shows how to connect Apache NiFi to ClickHouse as both a source and destination, and to load a sample dataset.
Gather your connection details
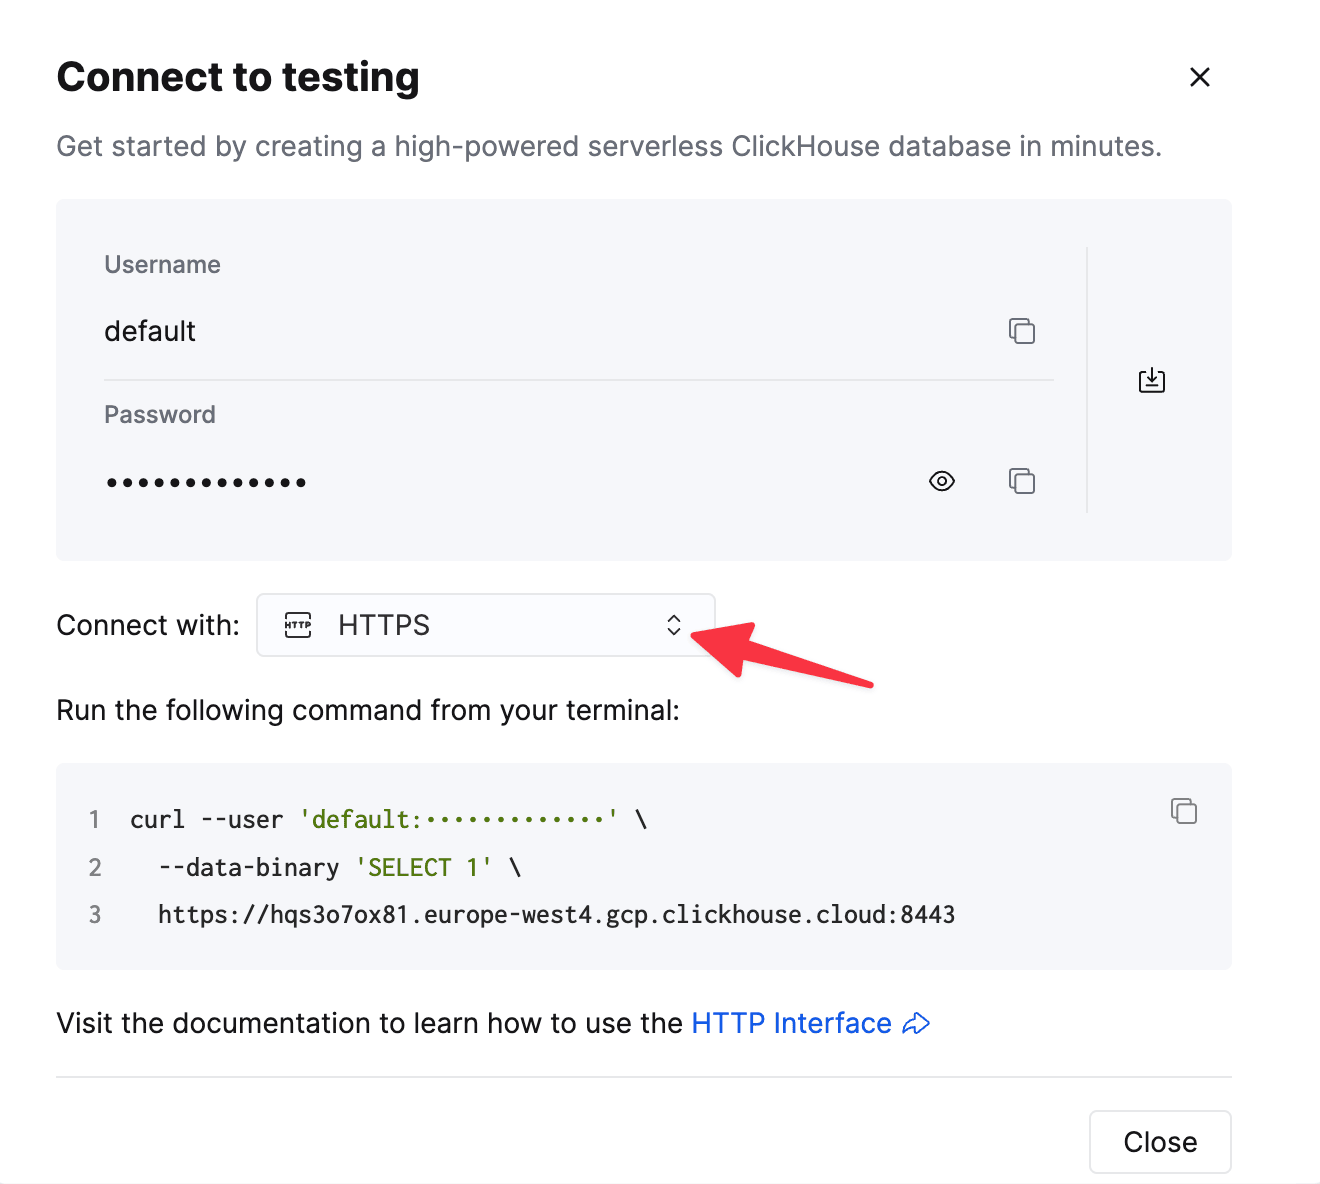
To connect to ClickHouse with HTTP(S) you need this information:
| Parameter(s) | Description |
|---|---|
HOST and PORT |
Typically, the port is 8443 when using TLS or 8123 when not using TLS. |
DATABASE NAME |
Out of the box, there is a database named default, use the name of the database that you want to connect to. |
USERNAME and PASSWORD |
Out of the box, the username is default. Use the username appropriate for your use case. |
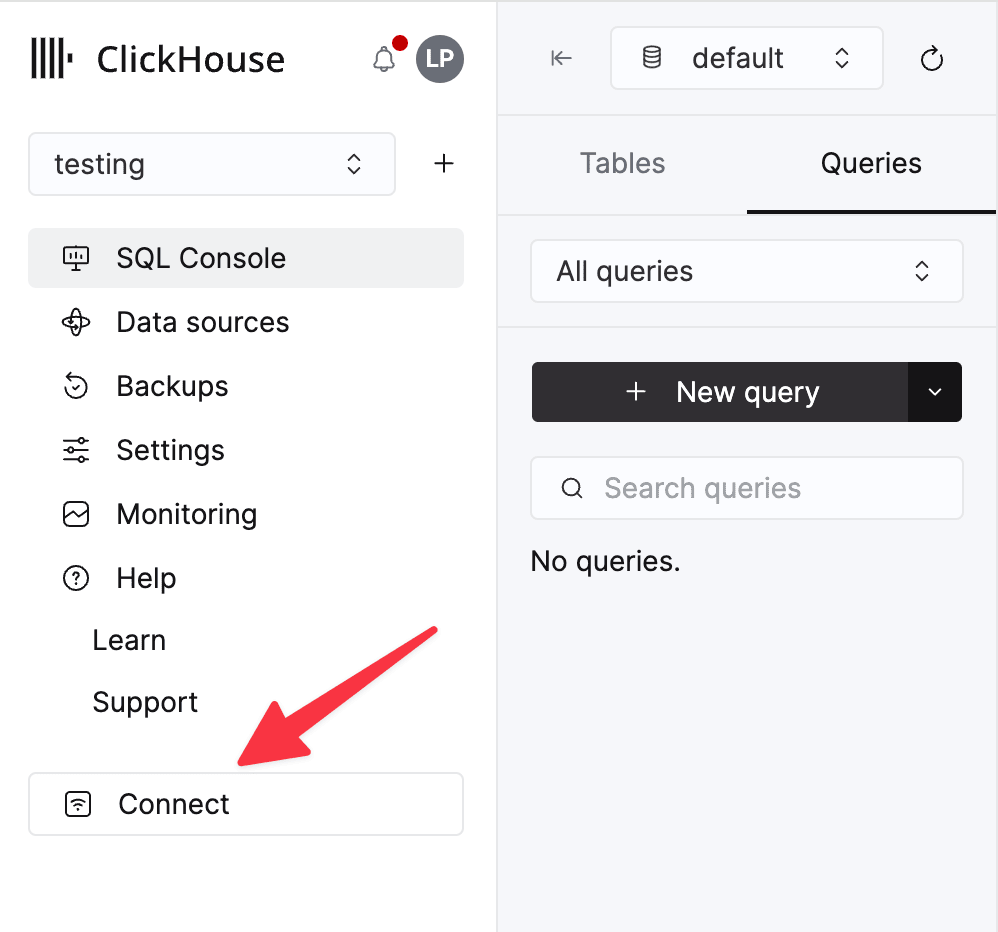
The details for your ClickHouse Cloud service are available in the ClickHouse Cloud console. Select a service and click Connect:
Choose HTTPS. Connection details are displayed in an example curl command.
If you’re using self-managed ClickHouse, the connection details are set by your ClickHouse administrator.
Download and run Apache NiFi
For a new setup, download the binary from https://nifi.apache.org/download.html and start by running ./bin/nifi.sh start
Download the ClickHouse JDBC driver
- Visit the ClickHouse JDBC driver release page on GitHub and look for the latest JDBC release version
- In the release version, click on “Show all xx assets” and look for the JAR file containing the keyword “shaded” or “all”, for example,
clickhouse-jdbc-0.5.0-all.jar - Place the JAR file in a folder accessible by Apache NiFi and take note of the absolute path
[object Object]
-
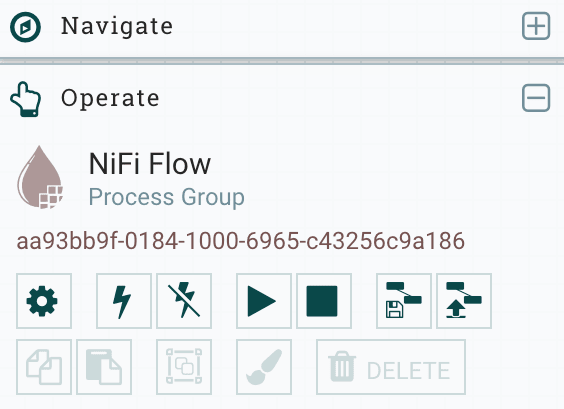
To configure a Controller Service in Apache NiFi, visit the NiFi Flow Configuration page by clicking on the “gear” button
-
Select the Controller Services tab and add a new Controller Service by clicking on the
+button at the top right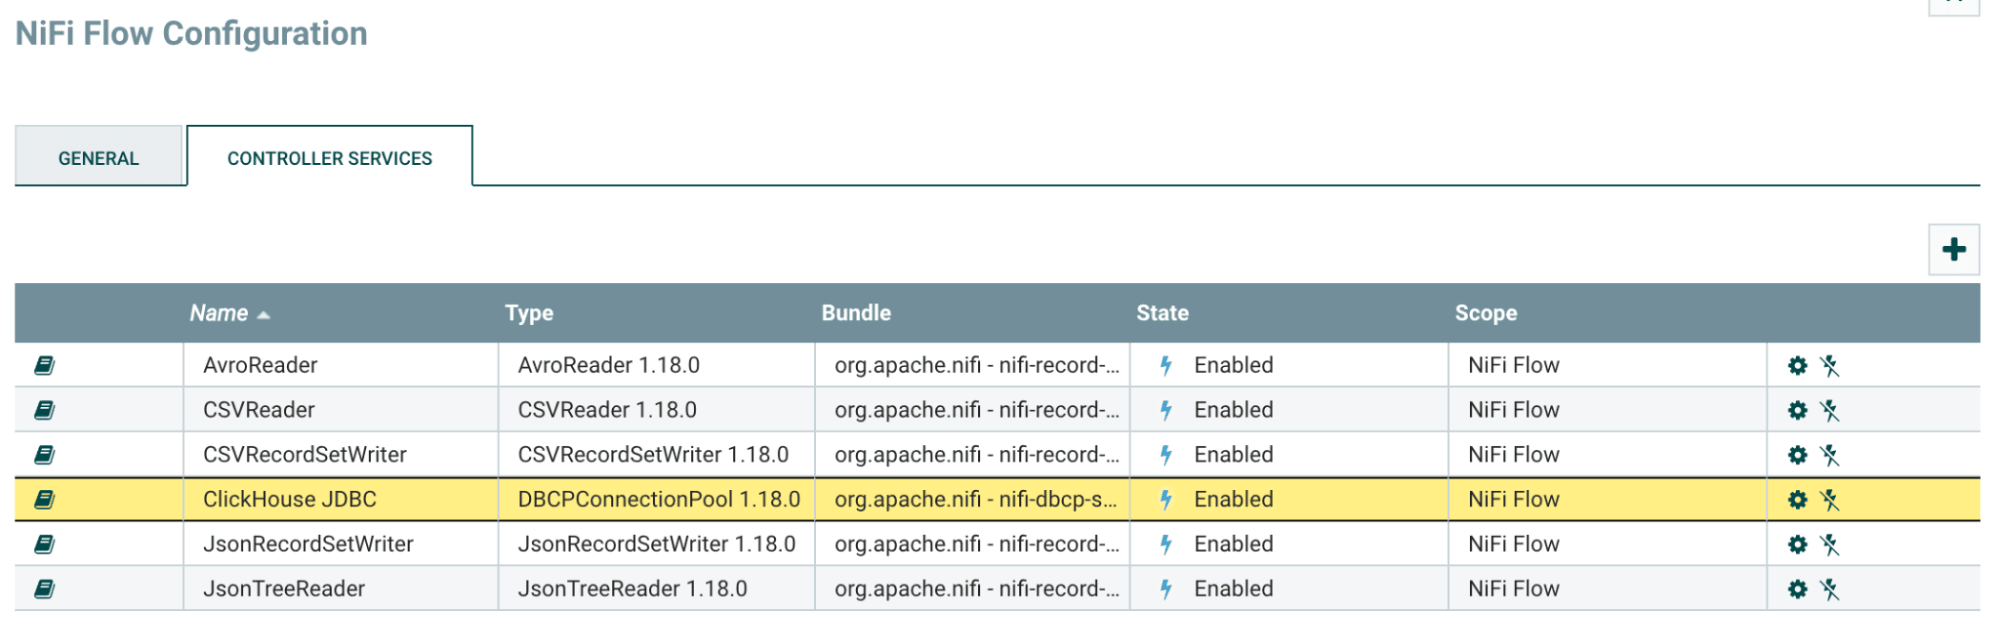
-
Search for
DBCPConnectionPooland click on the “Add” button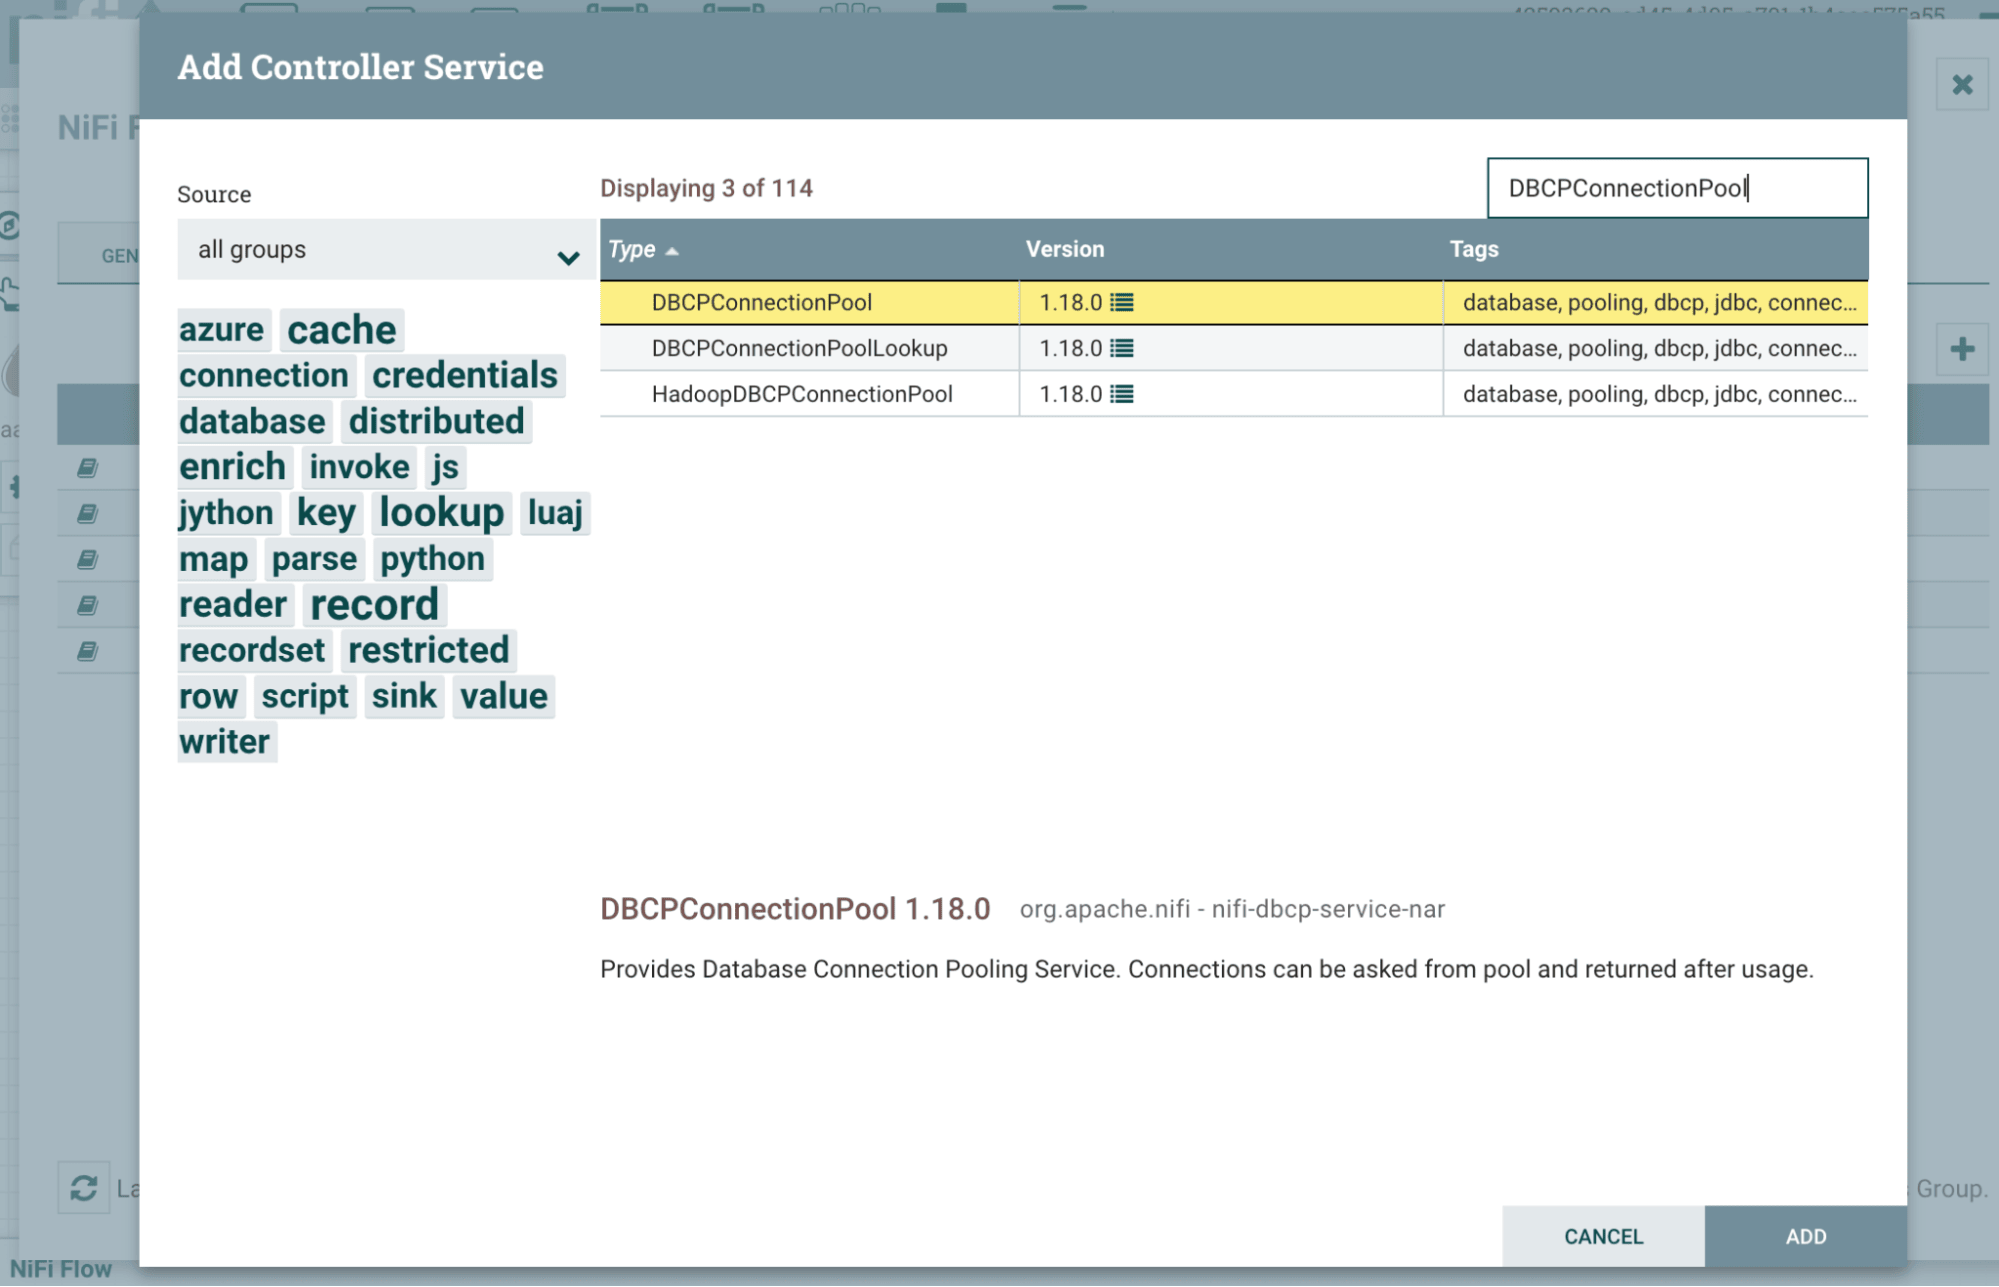
-
The newly added
DBCPConnectionPoolwill be in an Invalid state by default. Click on the “gear” button to start configuring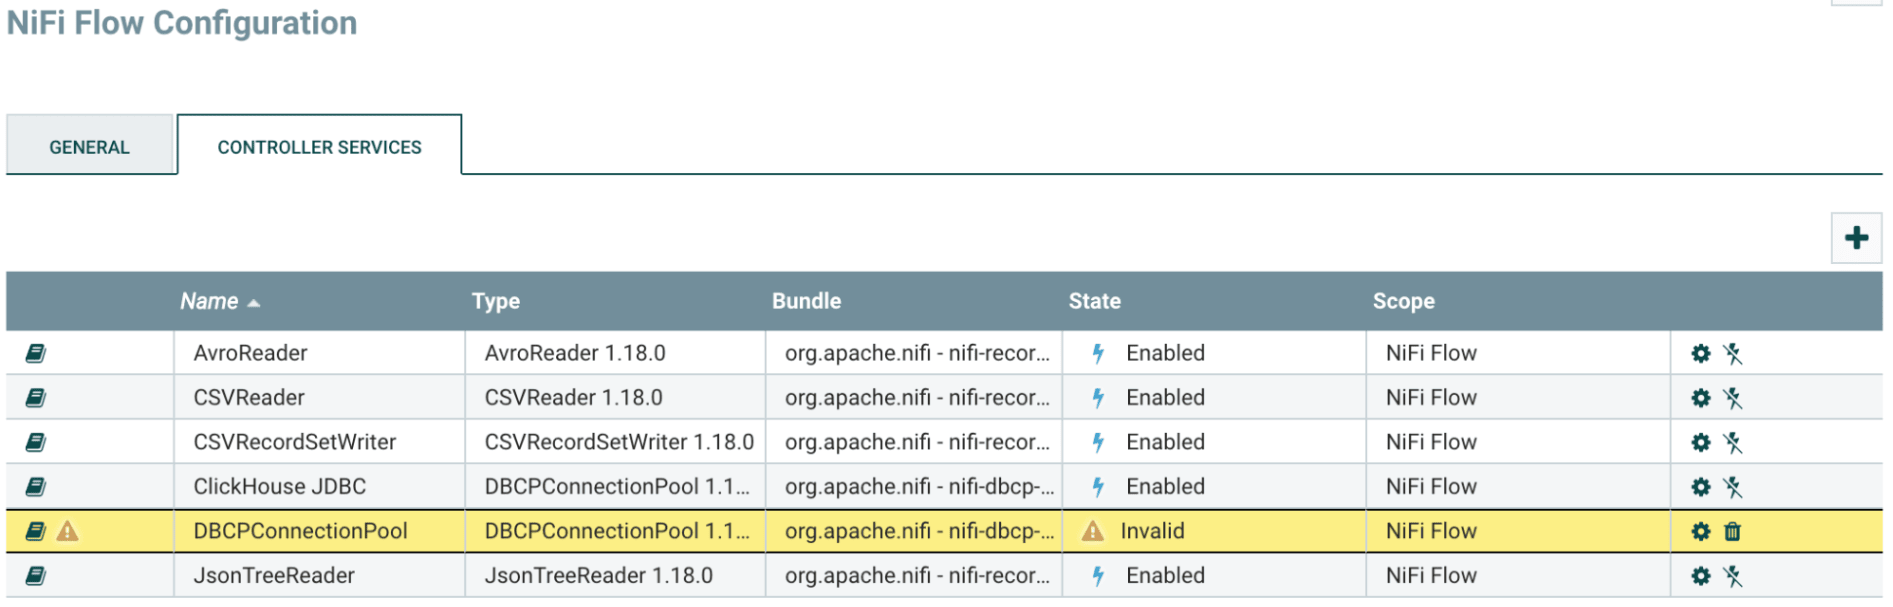
-
Under the “Properties” section, input the following values
| Property | Value | Remark |
|---|---|---|
| Database Connection URL | jdbc:ch:https://HOSTNAME:8443/default?ssl=true | Replace HOSTNAME in the connection URL accordingly |
| Database Driver Class Name | com.clickhouse.jdbc.ClickHouseDriver | |
| Database Driver Locations | /etc/nifi/nifi-X.XX.X/lib/clickhouse-jdbc-0.X.X-patchXX-shaded.jar | Absolute path to the ClickHouse JDBC driver JAR file |
| Database User | default | ClickHouse username |
| Password | password | ClickHouse password |
-
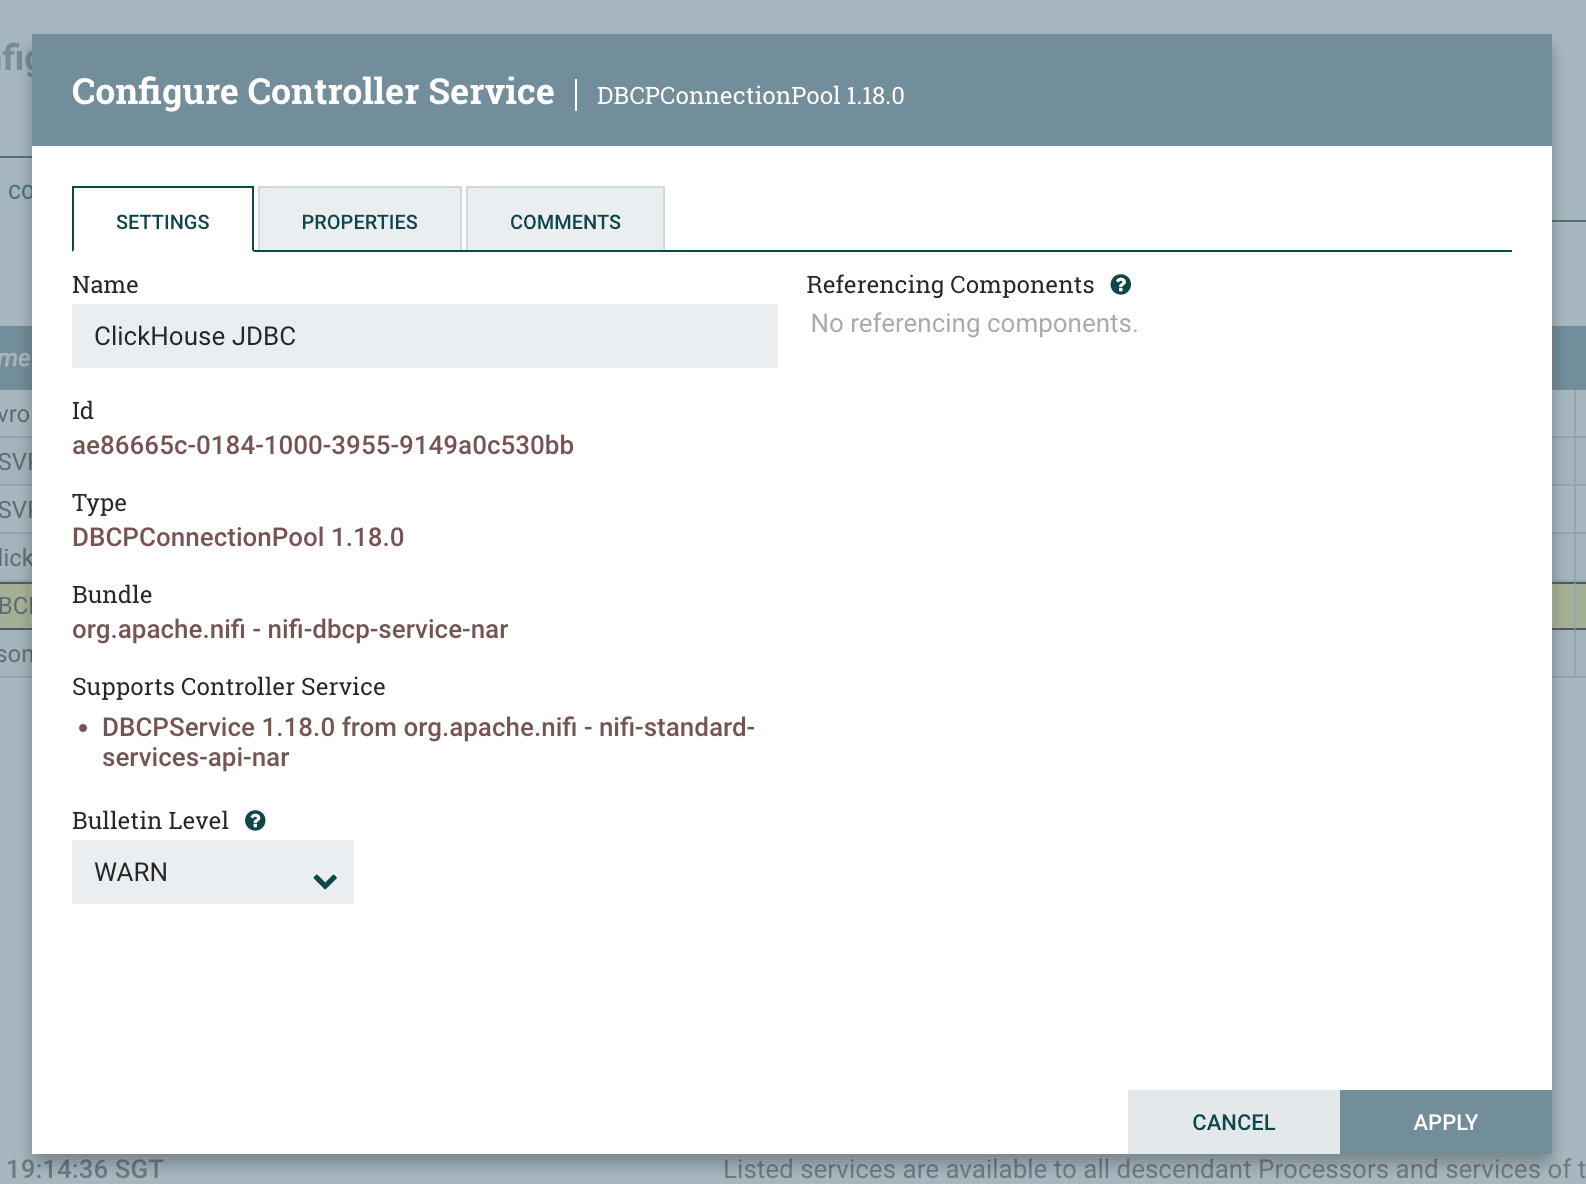
In the Settings section, change the name of the Controller Service to “ClickHouse JDBC” for easy reference
-
Activate the
DBCPConnectionPoolController Service by clicking on the “lightning” button and then the “Enable” button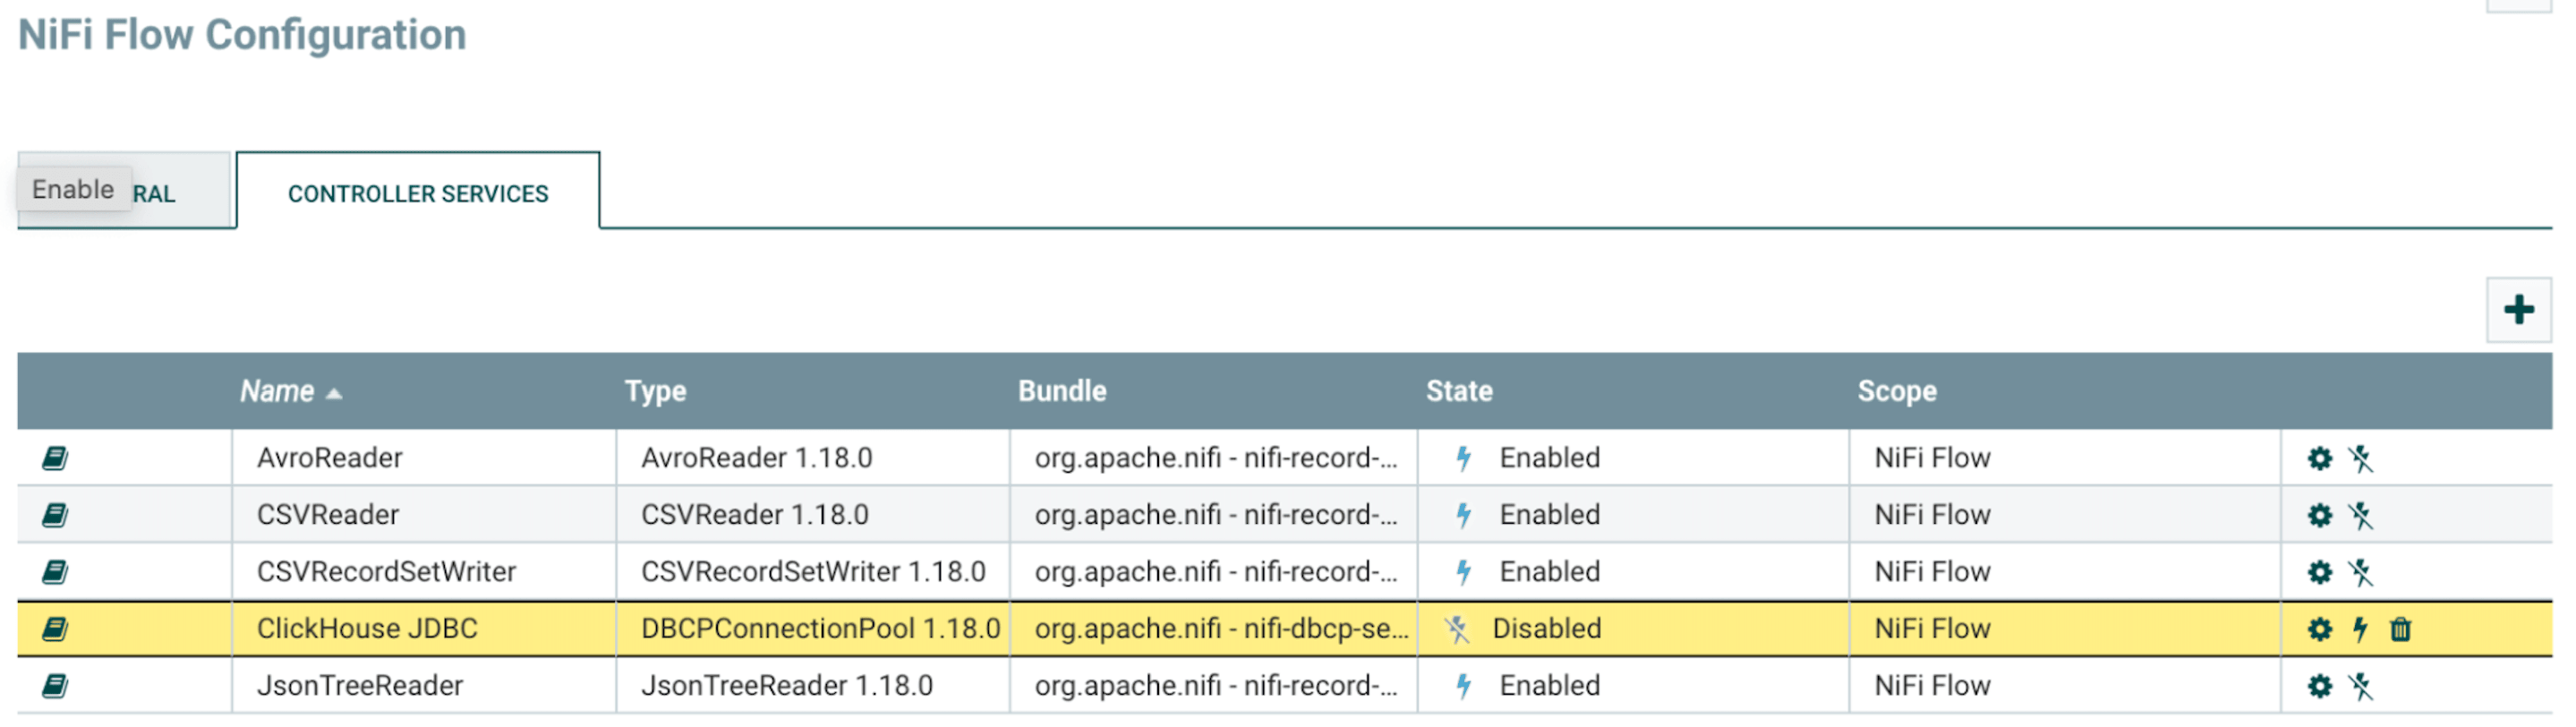
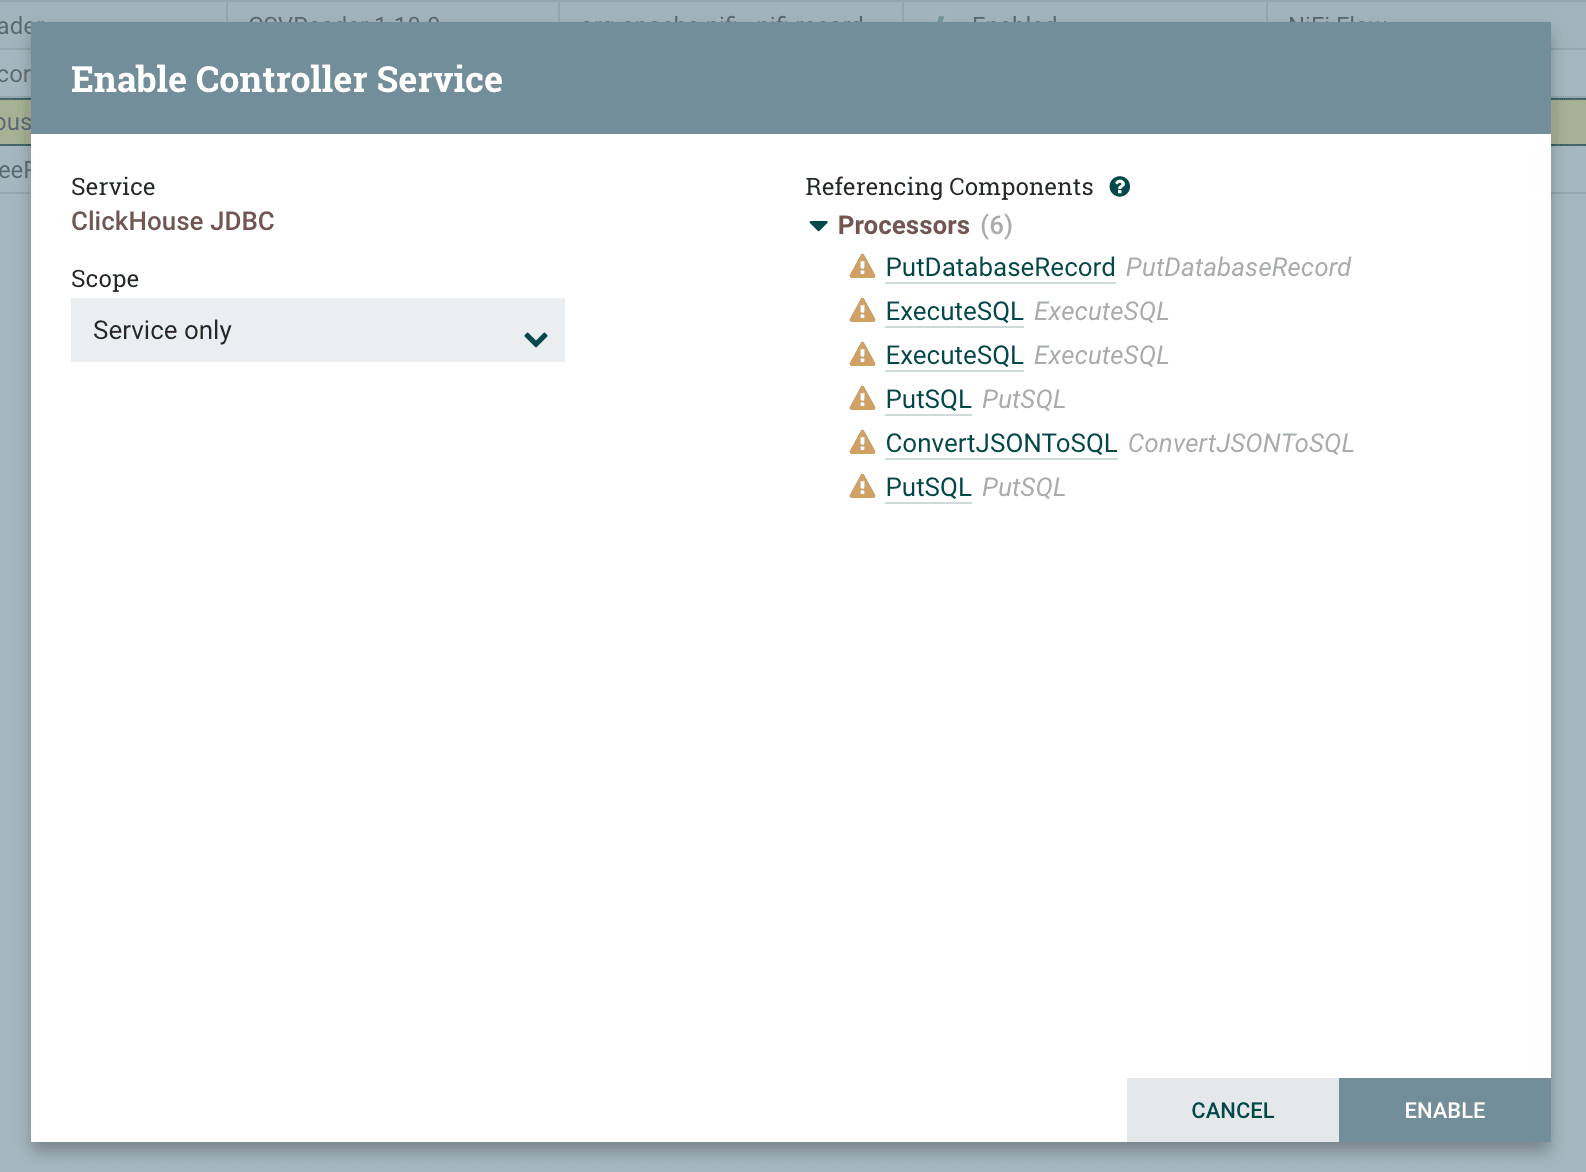
-
Check the Controller Services tab and ensure that the Controller Service is enabled
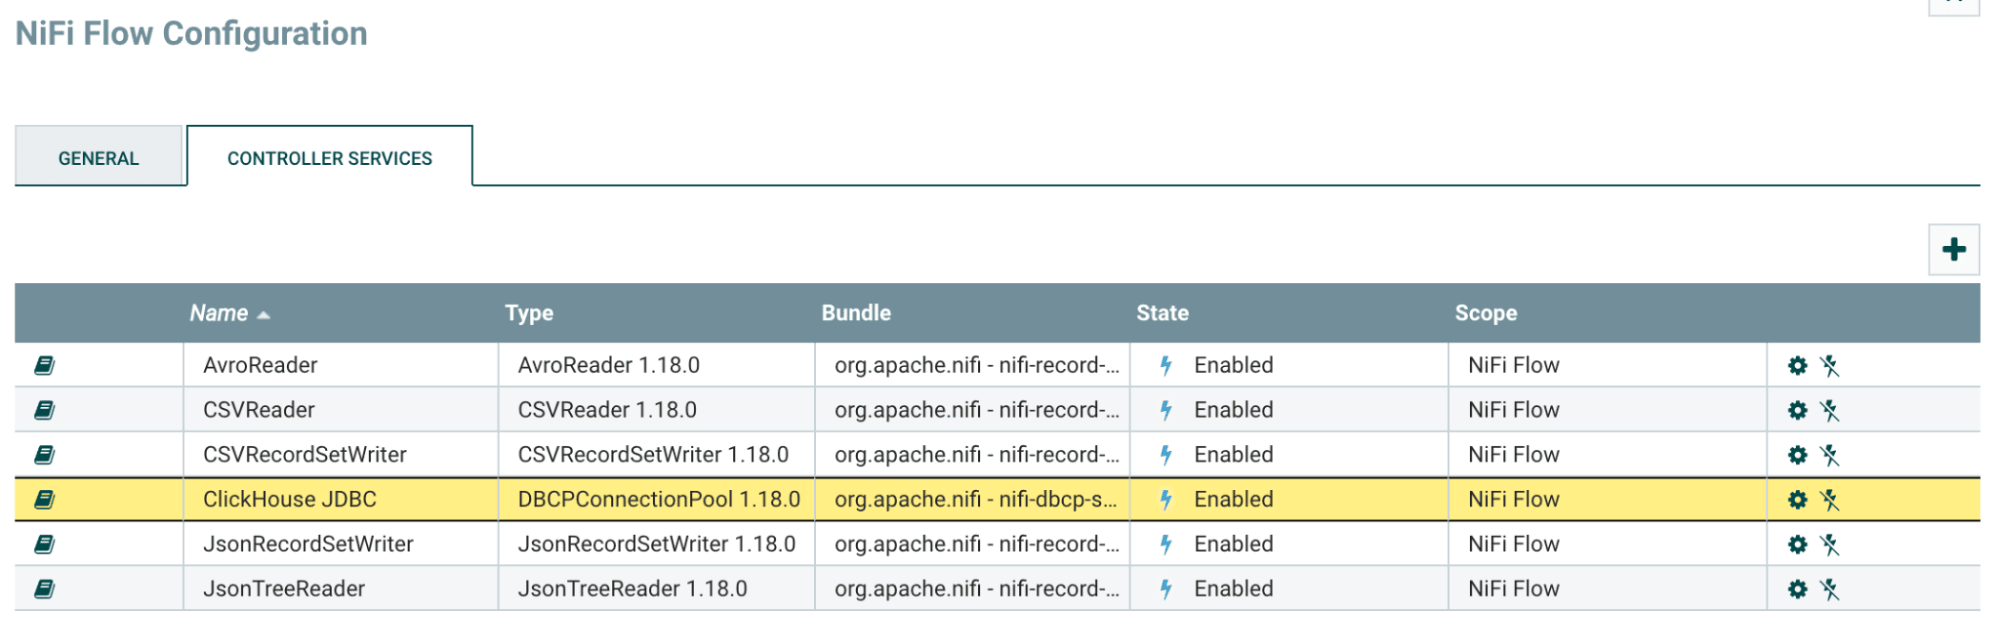
[object Object]
-
Add an
ExecuteSQLprocessor, along with the appropriate upstream and downstream processors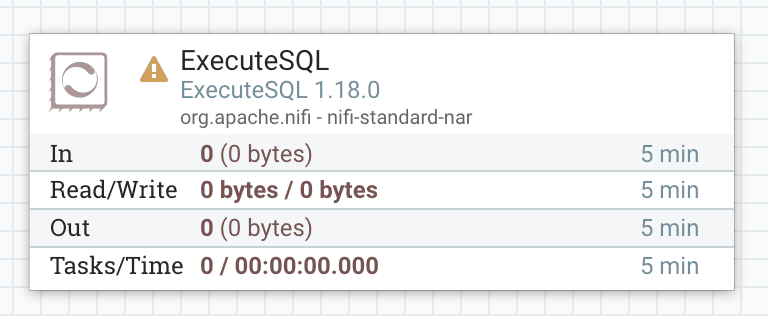
-
Under the “Properties” section of the
ExecuteSQLprocessor, input the following valuesProperty Value Remark Database Connection Pooling Service ClickHouse JDBC Select the Controller Service configured for ClickHouse SQL select query SELECT * FROM system.metrics Input your query here -
Start the
ExecuteSQLprocessor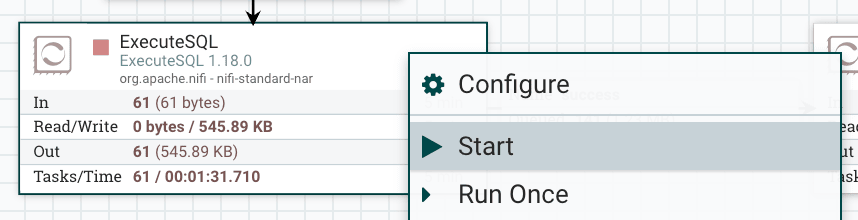
-
To confirm that the query has been processed successfully, inspect one of the
FlowFilein the output queue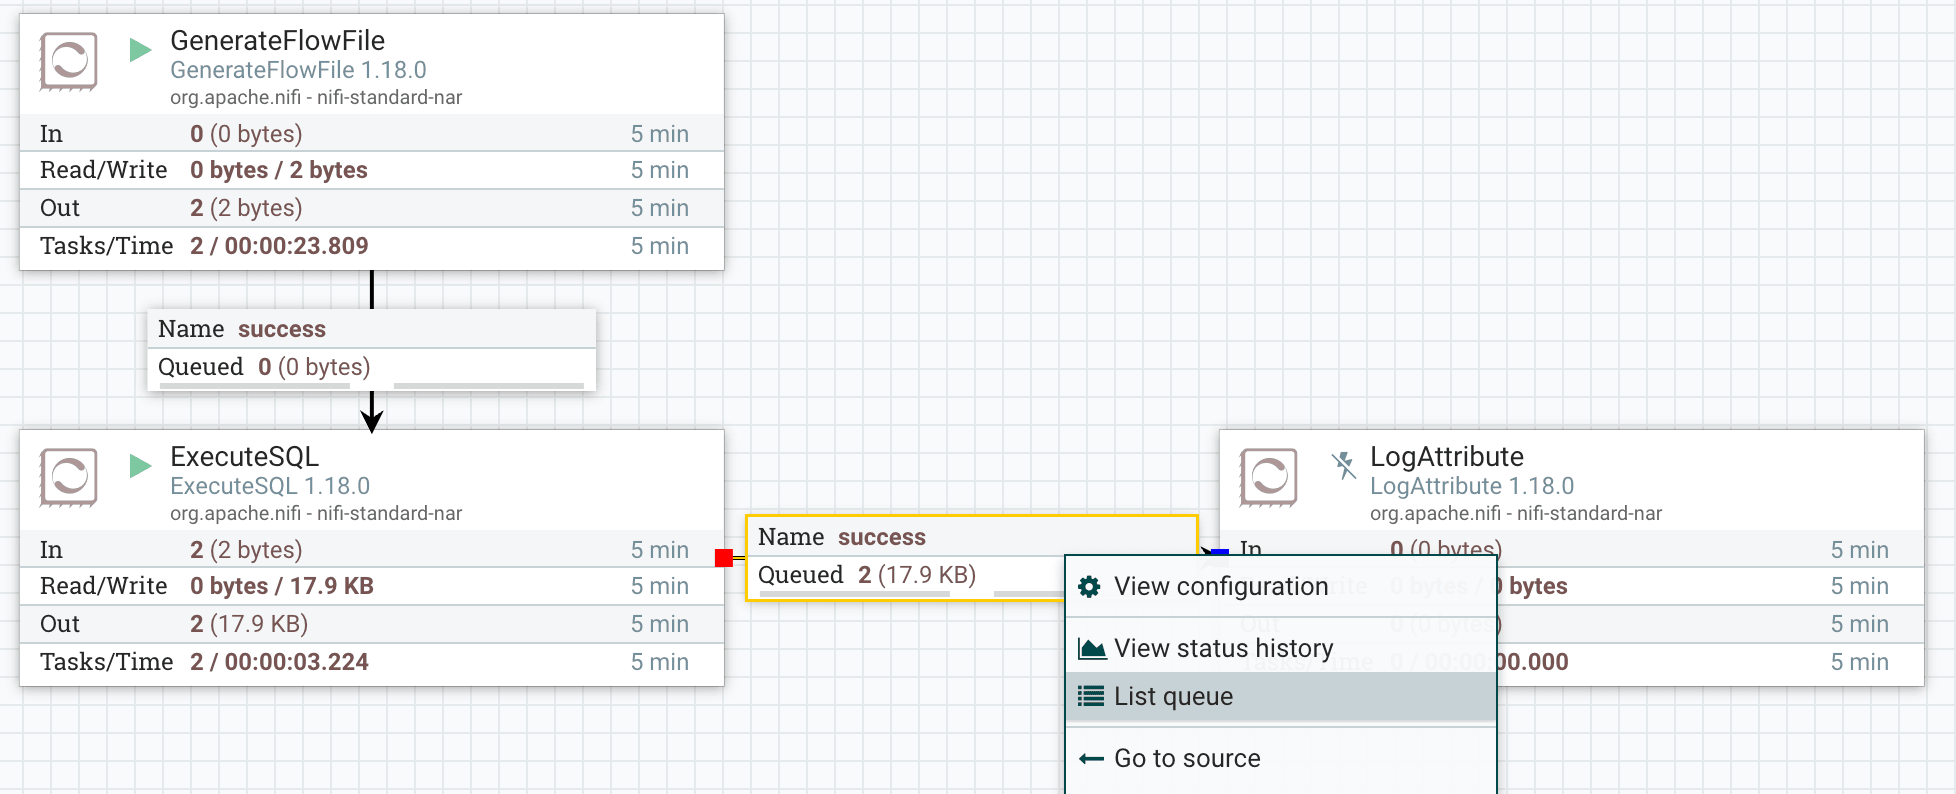
-
Switch view to “formatted” to view the result of the output
FlowFile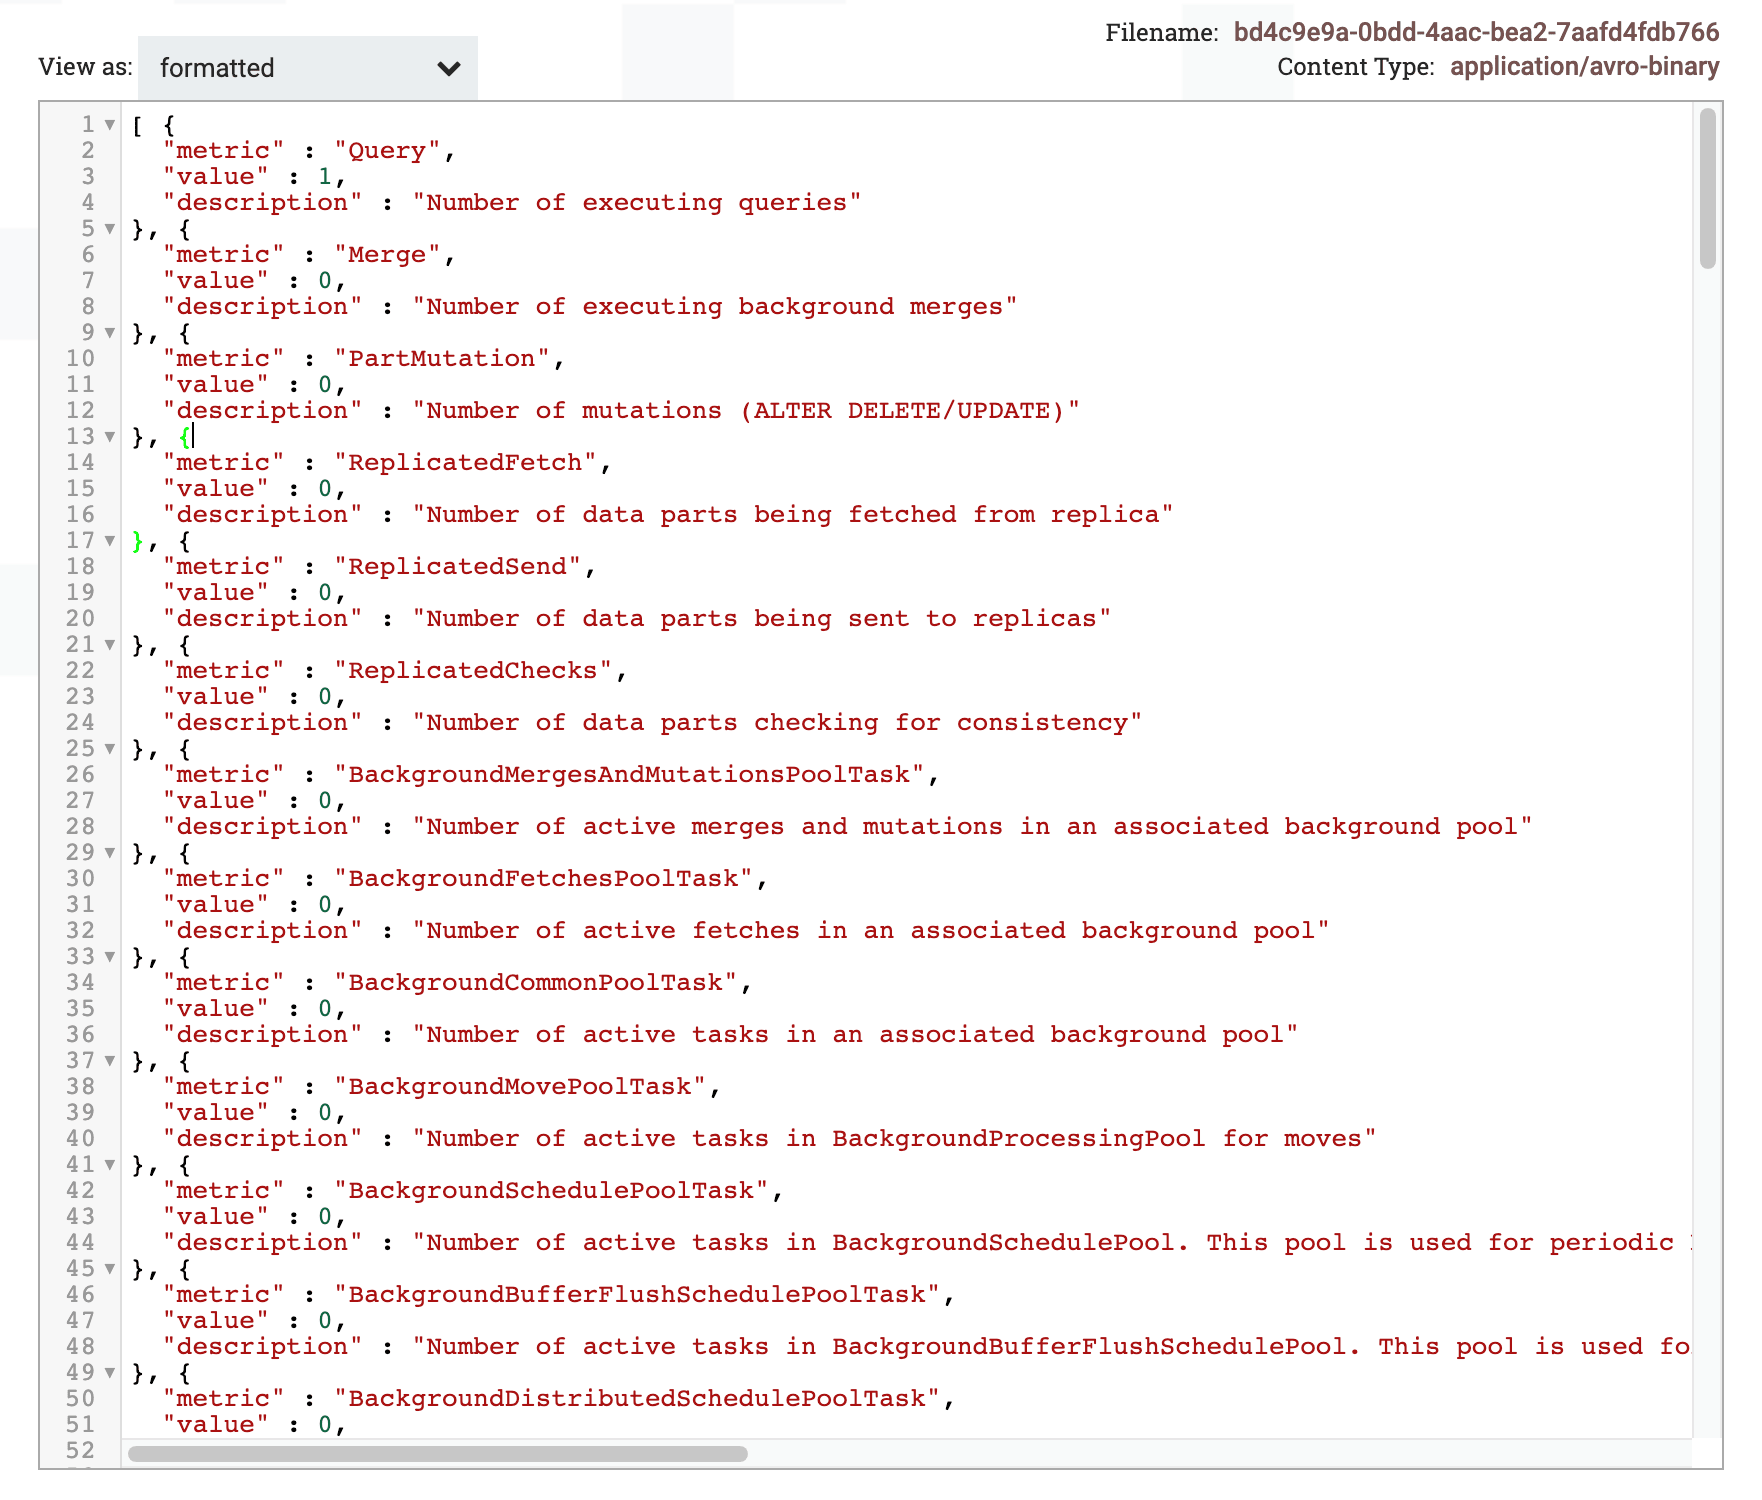
[object Object]
-
To write multiple rows in a single insert, we first need to merge multiple records into a single record. This can be done using the
MergeRecordprocessor -
Under the “Properties” section of the
MergeRecordprocessor, input the following valuesProperty Value Remark Record Reader JSONTreeReaderSelect the appropriate record reader Record Writer JSONReadSetWriterSelect the appropriate record writer Minimum Number of Records 1000 Change this to a higher number so that the minimum number of rows are merged to form a single record. Default to 1 row Maximum Number of Records 10000 Change this to a higher number than “Minimum Number of Records”. Default to 1,000 rows -
To confirm that multiple records are merged into one, examine the input and output of the
MergeRecordprocessor. Note that the output is an array of multiple input recordsInput
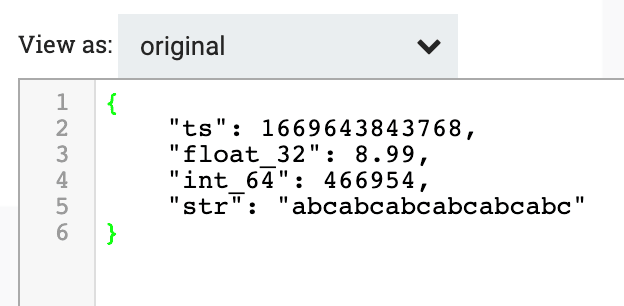
Output
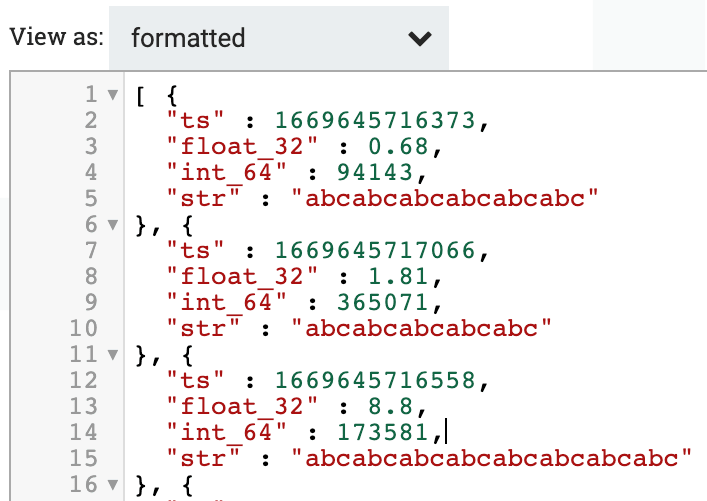
-
Under the “Properties” section of the
PutDatabaseRecordprocessor, input the following valuesProperty Value Remark Record Reader JSONTreeReaderSelect the appropriate record reader Database Type Generic Leave as default Statement Type INSERT Database Connection Pooling Service ClickHouse JDBC Select the ClickHouse controller service Table Name tbl Input your table name here Translate Field Names false Set to “false” so that field names inserted must match the column name Maximum Batch Size 1000 Maximum number of rows per insert. This value shouldn’t be lower than the value of “Minimum Number of Records” in MergeRecordprocessor -
To confirm that each insert contains multiple rows, check that the row count in the table is incrementing by at least the value of “Minimum Number of Records” defined in
MergeRecord.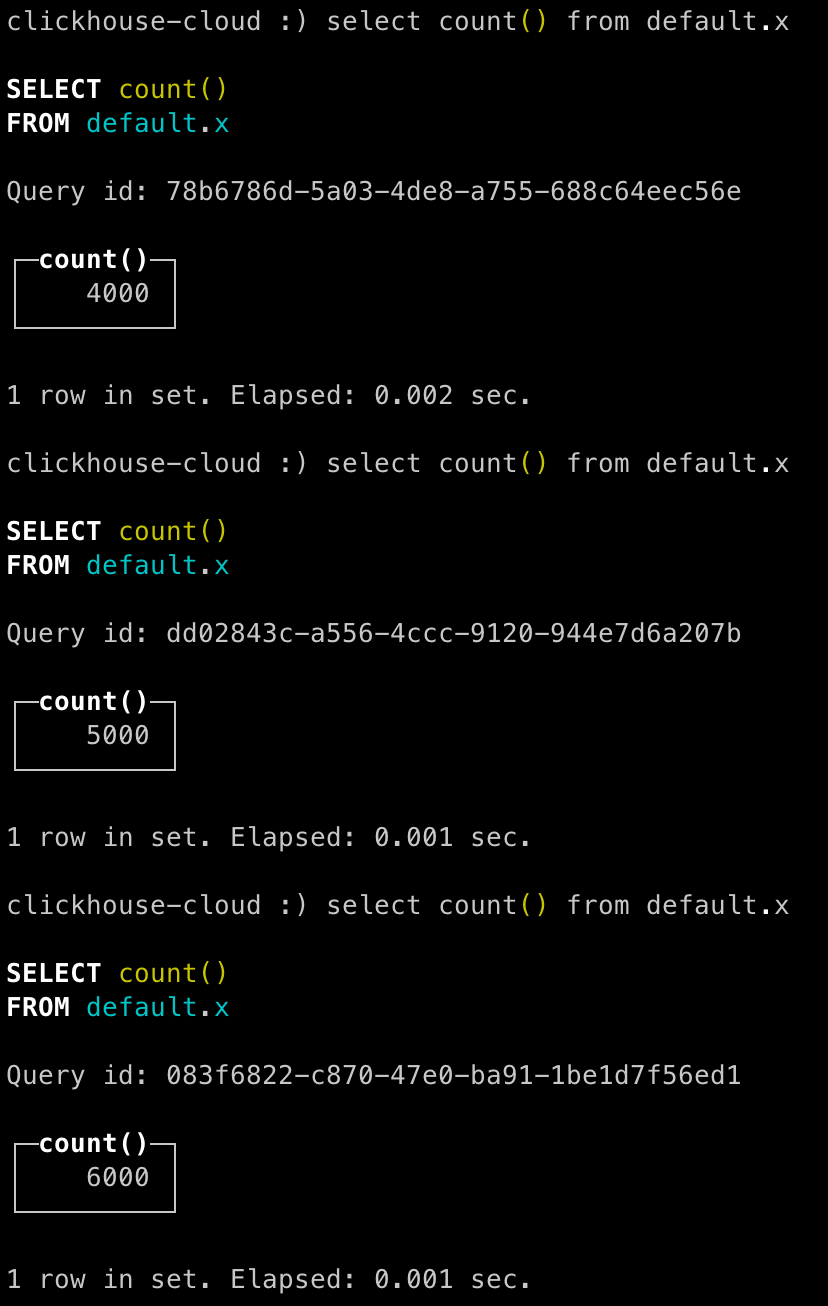
-
Congratulations - you have successfully loaded your data into ClickHouse using Apache NiFi !